Wednesday, 30 January 2013

Royal Icing Diploma Week 2


We started doing some basic piping using the writing nozzles. We piped lines, snail trail and dots. We then moved onto the star tubes to pipe ropes.


We also tried out brush embroidery using soft peak icing with an embossed shape on pastillage.


Lastly we tried out the basketweave tube which is much harder than using the rolling pin! We used the cake top markers as a guide on the circle cake.


Tuesday, 22 January 2013

Royal Icing Diploma Week 1

This was my first day of the royal icing diploma done intensively over 5 days.

We had to bring  a round and a square cake with us.  We started by marzipanning both cakes. This was done differently to sugarpaste in that we covered the sides then the top to ensure a sharp finish.

We then practiced royal icing a square and round dummy using the different scrapers. This was quite tough to get a smooth line.

 Due to snow we didn’t get time to pipe but I’m looking forward to that next week.

Thursday, 6 December 2012

Week 12

Presentation Board and Cake


Week 11

Areas covered:-

1) Stacking
2) Drapes

I used a 8 inch round fruit cake for the base and a 5inch round fruit cake for the top tier. The bottom tier had been marzipanned and iced beforehand and the top tier just marzipanned.

We iced the top tier in the lesson to ensure the icing was soft.  We used a spare cake board the same size as our top tier with a scribe to outline the area on the top of the bottom cake. We then used 5 dowels measured and cut to the cakes depth.  Royal icing was then used to fix the top tier to the bottom.

A smoother was then used on the top tier to make the icing cover the gap. I then used holly leaves and reindeer to decorate.

We then made a drape using coloured modelling paste and a textured rolling pin. This was then attached to the cake. Our burst made in week 3 was then added to the top.


Thursday, 22 November 2012

Week 10

Areas covered:-

1) People modelling

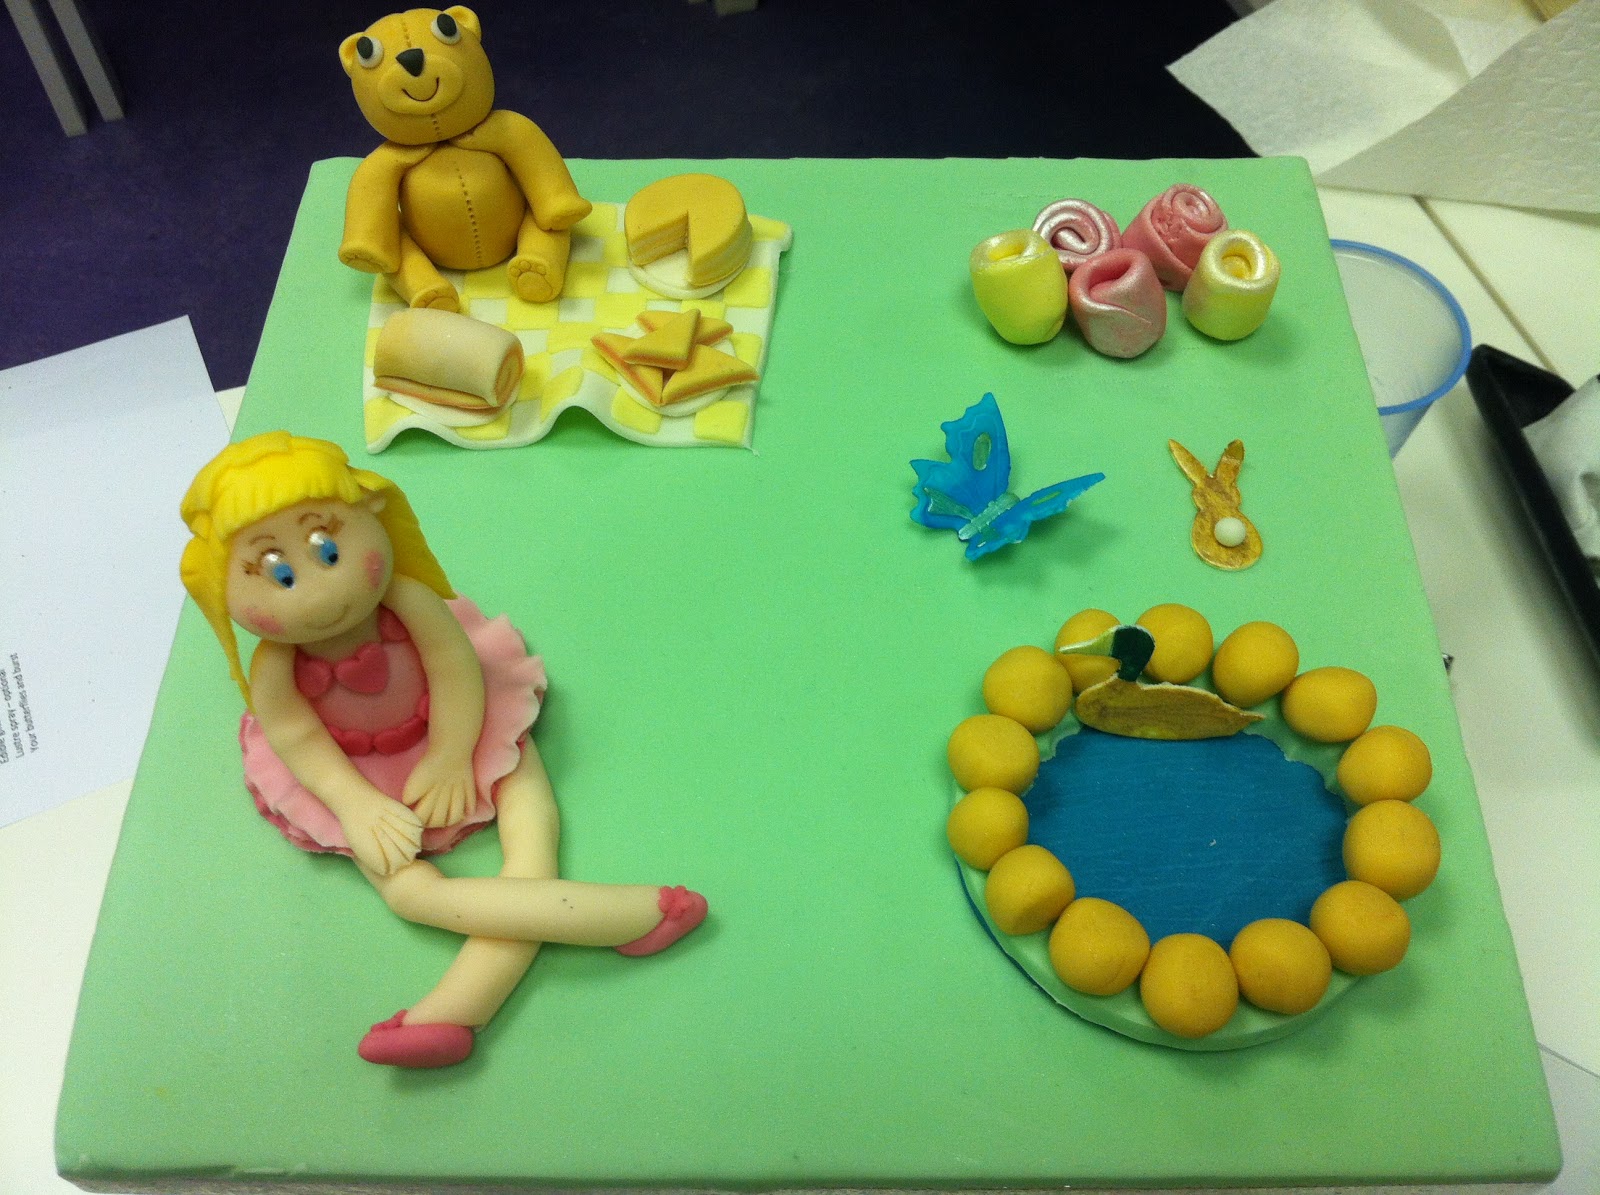
We continued the modelling theme from last week and we made a ballerina.  The head was made using a mould then painted using dust colours.  The skirt was done using a cookie cutter which was then frilled. The small cutters were then used to add detail to the design.  I used sugarpaste to make the hair but a sugargun could also be used.


Next week is the penultimate week of the course.  We are making a stacked cake incorporating drapes and a burst.

Saturday, 17 November 2012

Week 9

Areas covered:-

1) Modelling
2) Painting
3) Starburst

The course is starting to get busy especially now we are designing our cakes for the final presentation.

Today we started off with painting using the models we made last week with the mexican paste.  We used 3 painting techniques: using colour and rejuvenator spirit, using colours, lustre dust and rejuvenator spirit and trying out some new metallic paints.  We painted some ducks and butterflies. I loved the metallic paints.


We then went on to modelling, making a teddy bears picnic. We had brought the iced board with us to add the scene. We used the square cutters to create the patchwork quilt and a size guide to make the teddy.


We also used glitter and metallic paint to decorate out bursts in preparation for the tiered cake.

Thursday, 8 November 2012

Week 8

Areas covered:-

1) Broderie anglaise
2) Cut outs

We used a hexagonal cake attached different designs using the broderie anglaise cutters as shown below.


We then started making cut outs using modelling paste. We made a teddy bear cutter and used modelling tools for the details.


We also used mexican paste to prepare small cutouts for painting next week.